Physical Controllers
Hand holding sensor
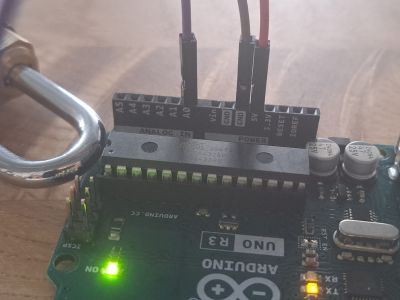
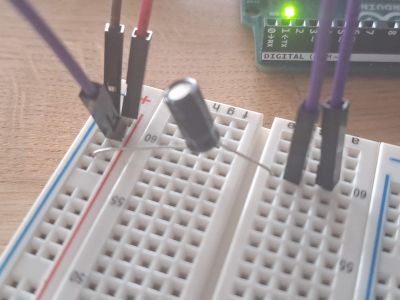
Measure the voltage - could be a chain of humans that hold hands, Arduino measure the voltage and smoothes it out with a capacitor. The LED is just to show the difference in voltage:
The Arduino connects to 5Volts, Ground and Analog 0
The Breadboard, purple wires are for holding in your hands. Capacitor to smooth out the voltage.
The code
File:Touch.zip
RFID Tag Reader
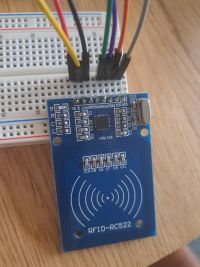
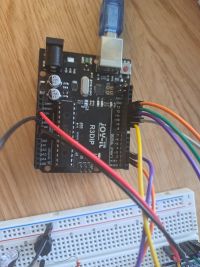
Can be used to read RFID Cards/ or write to them. Uses a ~3 Dollar RFID Reader (RC522) Worked best with Arduino Uno.
The Code: File:Rfid.zip
Musicplayer with DFPlayer Mini
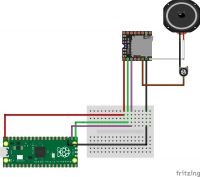
A simple module that allows to connect a SD card with mp3/wav files and play them via a small speaker. Uses the 5 Volt USB Input that feeds the Raspberry Pico (3.3V) in order to get a louder sound. For more volume, a dedicated amplifier and speaker would be required.
The Code: File:DFPlayerRaspberryPico.zip
Stepper Motor
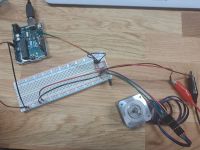
Using a A4988 Stepper Motor Driver, Arduino and a Stepper Motor from StepperOnline ( Nema 17 Bipolar 42Ncm 1.5A ). Setup the Driver as in this diagram File:POLOLU-2128.pdf, using this video tutorial: https://www.youtube.com/watch?v=psI3aN0A-OA Be sure to use a capacitor to avoid electricity to leak back into the Arduino and make sure to set the current limit on the Driver as described in the stepper driver document. For me it was 0.6v as I wanted a maximum of 1.5 A of current through the Stepper. Arduino code was here: File:StepperCode.zip
Microphone Sensor
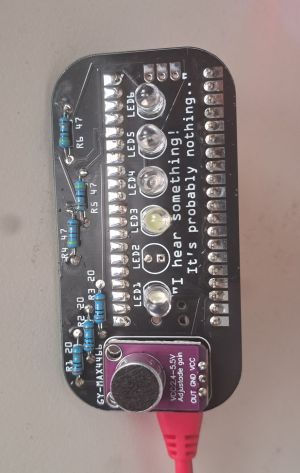
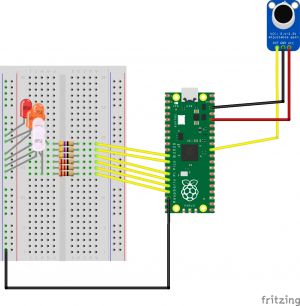
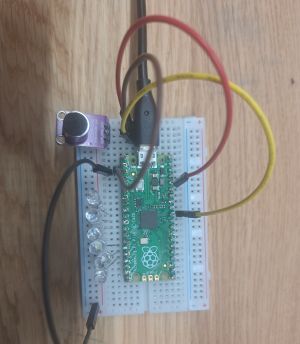
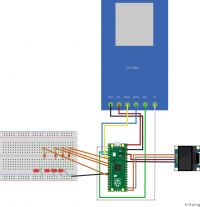
Using a Raspberry Pi Pico with Micropython - Takes a Microphone input and then outputs a gradient on LEDs. This could be of course also be used for a sound sensing controller - move the player only when you make a sound or so.
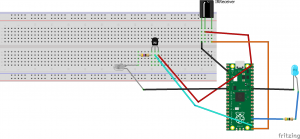
The wiring:
On a breadboard:
Infrared Sender/Receiver
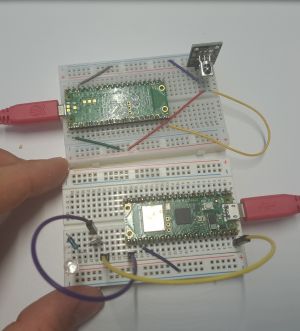
Using an IR Receiver Module & Infrared LED, works pretty easily - with the right library.
Some things to watch out for - the Infrared LED requires a lot of current (mA), the Raspberry Pico as well as the Arduino can't supply that directly. That's why we use a transistor as a switch to turn on/off the LED - this way we can get the full range and power for the LED.
You will need to upload the ir_tx and ir_rx folder to the Raspberry Pico beforehand. Works like a typical TV remote, can send small packets of data (like numbers or hex codes).
The code for the Raspberry Pico and library that needs to be uploaded to the Pico here: File:IrSenderReceiverDoc.zip
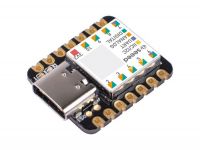
SEEDUINO XIAO
A super small Arduino/Micropython device. About 15 Euros.
Connecting it to Arduino IDE: https://wiki.seeedstudio.com/Seeed_Arduino_Boards/
Unfortunately did not work the first time I used it, may just have been a faulty device..
Reading Serial Data in Unity
In order to read data from Arduino to Unity, you can simply print out text to the Serial port. Then receive this in Unity with this script:
Important that the Serial Monitor is not open when trying to read. May require plugging in/out the USB sometimes. Also, you need to set the correct Port (COM + Number).
SD Card Reader
Enables you to write/read to an SD Card. This particular SD Card adapter needs 5V, so we take this from the VBUS of the Raspberry Pico. Script to access storage can be found on the zip file beneath. Formatting the SD Card to FAT32 using the Tuxera SD Card Formatter, although your operating system may have a built in solution.
Deep Sleep with Raspberry Pi Pico
Custom Firmware reduces power consumption to ~2mA, which is excellent for battery powered projects that need long durations where they don't do anything. https://ghubcoder.github.io/posts/deep-sleeping-the-pico-micropython/#release
